
Even with all the improvements to the UI and improvements in Windows 11, there is a set of issues which just won’t go away from Windows.
In particular, some users reported recently that they had audio problems with audio issues on Windows 11, so we have put together a step-by-step guide on how to solve the “no audio’ problem on Windows 11.
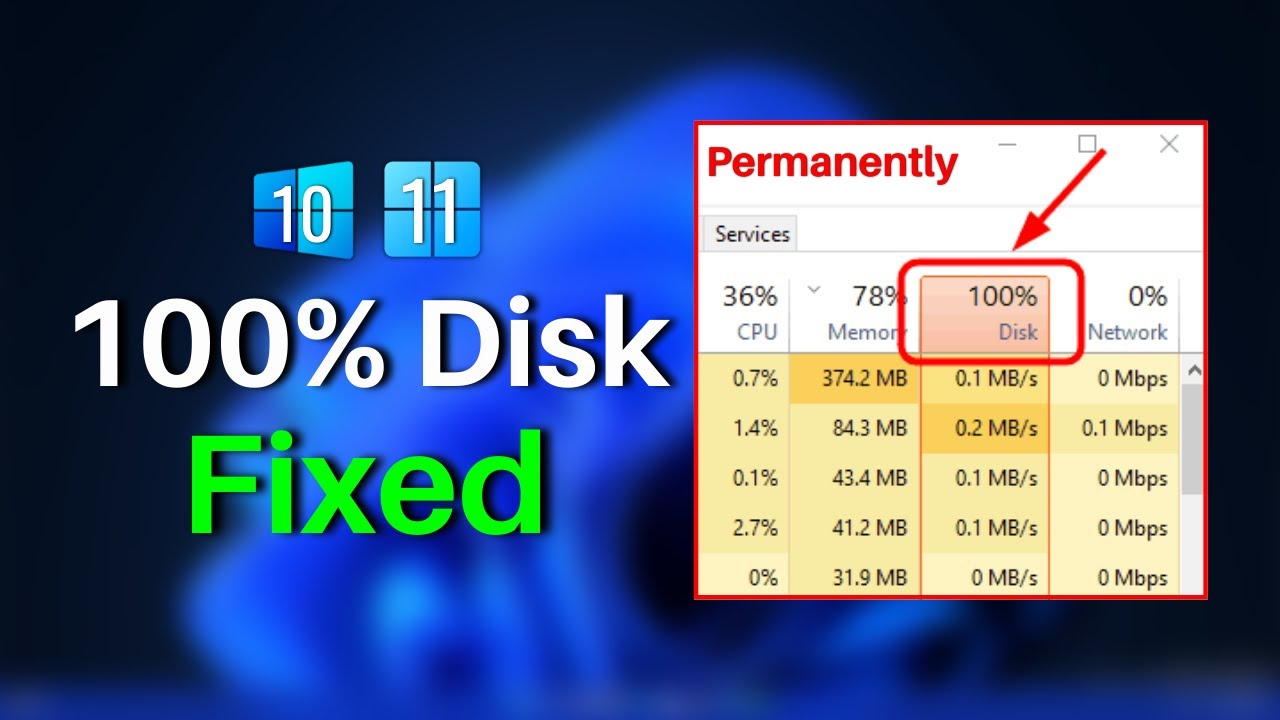
We have discovered reports that users are experiencing random spikes in the use of their disks in Windows 11, with 100 percent disk utilization regardless of whether the computer is idle.
To address the issue We have come up with twelve easy methods to reduce the excessive use of disks within Windows 11.
In this regard, let’s begin to learn about the best way to reduce the 100% utilization of disks within Windows 11.
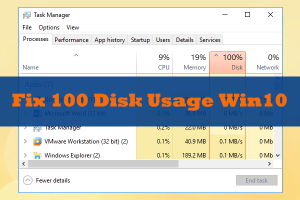
If you’ve recently updated from Windows 11 and found that your PC is responding slowly it is possible to check the Task Manager and determine what is causing the issue.
The Task Manager gives you details on the procedure being run on your PC.
One of the most frequent reasons for why your system, particularly laptop is running at a slow speed is because the disk utilization is at 100 percent.
The typical usage is not going to increase in a lengthy period. It may reach an extreme level, or even near 100% for just a couple of minutes, then it will drop back to a more normal level typically below 10 percent.
If the use of disks by your PC continues in a very high rate. It is necessary to identify ways to fix the problem.
How to Fix Windows 11 100% High Disk Usage?
Ideally, the amount of data used during daily activities should not be greater than 70% a typical user.
If you are running heavy programs and games, or you use several apps at the same time, your usage can increase to 90 percent.
It is sometimes okay if the use of your computer exceeds 100 percent in the case of rendering huge games or executing in high frame rates.
If your computer runs 100% disks in Windows 11, even while conducting basic tasks such as surfing on the web, opening files in explorer, or playing an movieThere’s something amiss. Many factors could be responsible for the problem.
What can be fixed High Utilization of Disks (100 percent) within Windows 11.
For a solution to the issue of 100 percent disk utilization for Windows 11, follow the below steps, in order:
- Run System File Checker and DISM.
- Check Disk.
- Scan for Viruses/Malware.
- Stop start-up programs.
- Perform a clean boot.
- The ability to increase the virtual memory.
- Switch off Sysmain and Windows Telemetry Services.
- Disable Defrag Task
- Replace HDD by SSD SSD.
Method 1: Fix Windows 11 with System File Checker and the DISM tools.
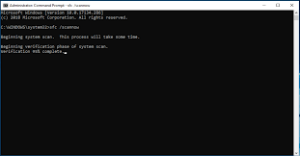
The System File Checker (SFC) as well as DISM is a Windows command-line tools for analyzing for and correcting corrupted or missing system filesystem.
- On the search bar, type CMD and then select Run as administrator.
- In the cmd window, type in the command listed below, and then click Enter.
- Dism.exe /Online /Cleanup-Image /Restorehealth
- Be patient until DISM fixes the components store. After the repair is complete, (you should be informed that corruption in the store has been fixed) Give this command, and then press enter:
- SFC /SCANNOW
- This may take several minutes to complete. Restart the computer after it has completed and verify that everything is perfectly right now.
Method 2: Check Disk for problems
Another method of fixing the problem with excessive disk usage for Windows 11, is to look over the disk for any errors, and then correct them by employing CHKDSK. CHKDSK command. For this:
- Launch command ask for administrator
- In the command prompt, type in the following command, then click Enter.
- chkdsk c: /x /r
- You will get an invitation to schedule the disk test every time your system is rebooted. Click the Y key (to choose Yes) and then restart the device in order to fix and analyze the errors in your disk.
- After restart, allow Windows run its repairs and check-ups. Then, upon entering Windows then open the Task Manager and verify if the 100% issue with disk usage remains.
Method 3: Scan Windows 11 for Malware.
If you’re Windows 11 device is still having problems with high usage of disks even after following these steps, it’s a good idea to determine whether it’s infected by malware prior to proceeding.
For a scan to remove malware from your computer I would suggest following these instructions from the following Malware Scan and Removal guide or check your computer for malware using Windows Security.
to scan your computer using Windows Security:
- Search bar: Enter Windows security. Click Open.
- After the Windows security window appears, click on Virus and threat security.
- Select Scan Options.
- Click Full Scan to run a thorough virus scan of the device. Then click Scan right now.
- The device will run a scan for several minutes for threats. If any threat or virus is found, click “Start Actions” to eliminate or block the threat. It could be the reason excessive disk use for your device.
Method 4: Turn off Startup Software
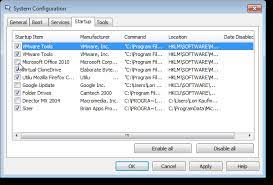
Some applications are set to start running immediately following Windows is launched. This can lead to the use of disks to rise by a significant amount, therefore you should disable program that starts the startup process to limit the use of your disk.
- Click the Windows button + I to start Settings.
- Choose Apps from the menu pane and then select Startup.
- Turn off as many start-up software that is not owned by Microsoft Corporation.
NOTE: In the majority of instances, 100% use of the disk within Windows 11/10, can be attributed to third-party software and not Microsoft’s. But, since sometimes both OneDrive as well as Microsoft Teams can cause the problem, make sure to remove them too.
Method 5: Perform a clean boot.
As a third-party service might be the cause of utilization of the disk is increasing dramatically If you want to cleanly boot Windows 11 with ONLY Microsoft services could be a good option to fix the issue.
- Press the Windows + R keys on your keyboard to launch the Run window.
– In the Run box you can type Msconfig and then select “OK”. - At Services tab, make sure to Hide the entire set of Microsoft services.
– Choose Disable All, and then select OK.
– Select Restart whenever you’re required to restart the computer. - Once the device has been restarted, start the task manager and verify that the disk’s usage has slowed down. If it is, follow similar steps, and then enable the non-Microsoft applications one at a time to identify which causes the excessive utilization of CPU.
Method 6: Fix 100% Disk Usage in Windows 11 by Increasing Virtual Memory
If the physical RAM of your PC is getting overloaded, Windows uses part of the hard drive to help support the memory. The memory allocated from your hard drive is referred to as virtual memory. By increasing the memory of virtual memory, you can solve the problem of high disk utilization.
- Press the Windows + R keys on your keyboard to launch the Run window.
2. In the run box, type SystemPropertiesAdvanced and click OK. - Click the Advanced tab in the The Performance section, select Settings.
- Within the Performance Options window, select the Advanced tab. In the section called Virtual Memory, choose to change it.
- At Virtual Memory window:
- Uncheck Automatically manage paging the size of files on every drive. (Make sure the drive that Windows is installed is chosen. Usually, C:)
- Choose the custom size and alter the size of the initial and maximum of the virtual memory, as the following:
- To determine the initial dimension, enter the same number for the Recommended category (e.g. “1650” in this example).
- To determine the maximum size, it should be the amount of RAM installed as megabytes multiplied by 1.5
In this case, if you have 8GB of RAM, that is equal to 8192MB (8 1024) Then, multiply that number by 1.5 for the exact number to be used for the largest size. In this case, 8192MB * 1.5 = 12288 MB
- After the values of virtual memory are filled in then select to setand after that click Ok.
- After pressing OK you’ll receive a prompt asking you to restart your computer. Click “OK” to start the reboot.
Method 7: Stop/Disable SysMain & Telemetry Services
Sysmain (or “Superfetch”) is an Windows 11 service that supposedly boosts the performance of your system and allows apps open quicker.
The Connected User Experiences (CUE) and Telemetryservice allows features to enable in-application as well as connected user experiences. It also communicates information about usage and diagnostics to Microsoft enhance performance.
But, many have complained that this service result in a large amount of data usage on their Windows 11 devices:
- Use the Windows + R keys on your keyboard to display the Run screen.
- In the run box you must type services.mscand click OK.
- Find the SysMain service in the list of services. choose Stop with a right-click.
- Once the Sysmain service is stopped it is time to press Ctrl + Shift + Esc to launch Task Manager and verify if use of your disks has diminished. If so, head to Services next time, double-click on the SysMain service, then set the Startup mode to disabledand it’s finished! . If not, move to the the next step.
- Now stop the Connected User Experiences, as well as Telemetry service.
- Check in Task Manager to determine if your high usage of the disk is shut down. If it is, continue and disable the service. Then start your computer and then you’re finished. If not, continue to the next procedure.
Method 8. Disable Disk Defrag Task.
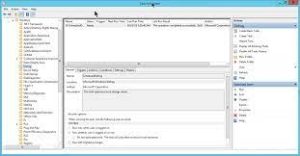
- In the search box, enter Task Scheduler, and then Click Open.
- Go to Task Scheduler Library > Microsoft > Windows > Defrag.
3. In the pane to the right in the right pane, click the Task ScheduleDefrag with a Right-click and then select the option to turn off.
Method 9. Replace HDD by an SSD.

The only way to solve the 100percent disk usage problem in Windows 11, is to swap your hard disk (HDD) by an SSD. The replacement of your hard drive by an SSD is among the most effective things you could accomplish to significantly increase the performance of an old computer. For this you must follow the directions on this guide: