Author Bio: I’m Steven, the founder and lead editor of USTECHPORTAL.com, where we combine a passion for gaming with a knack for demystifying complex tech problems. With years of experience troubleshooting software and hardware issues, we create clear, step-by-step guides to help users get back to their digital lives—and their games—with minimal frustration. Our mission is to provide reliable, actionable solutions that actually work.
Minecraft was launched in 2011 and has seen rapid growth since its launch more than a decade ago. After more than ten years of improvements, the game continues to get better and more polished, receiving new content each year. With a platform this big and full of information, technical glitches and problems are common. This is especially true for gamers using the Java Edition on PC.
The reason behind the “Game Ended with Bad State: Exit Code 1” error could be caused by one of three reasons: glitches within Java, an issue in the player’s Minecraft settings or configuration, or a problem with the player’s computer.
In this article, we will go over five ways to fix the “Game Ended with Bad State: Exit Code 1” error.
What’s the Reason for the Minecraft Code 1 Error?
Although the precise causes for this error aren’t simple to pinpoint, we do know that it’s more likely for PC gamers, particularly when their game files have been corrupted or if they’re using a lot of mods.
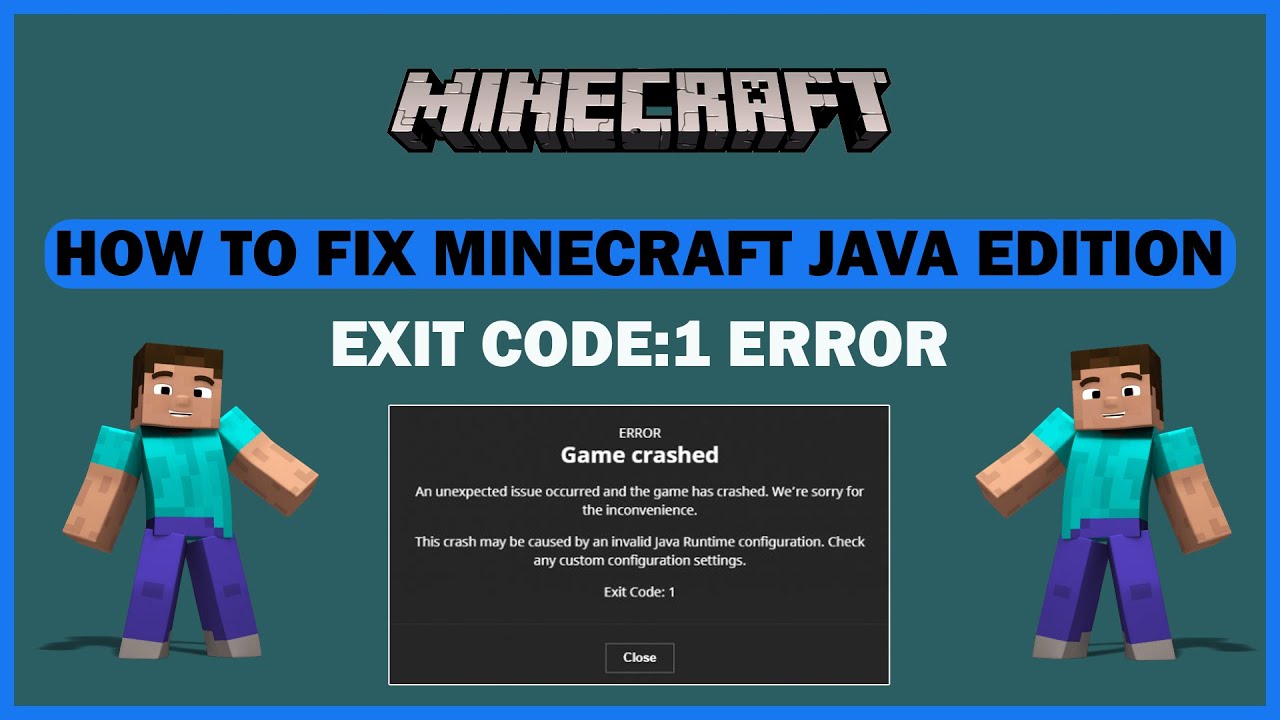
It displays an error message which says “Minecraft closed with exit code 1,” rendering you unable to play.
There are three possibilities that can cause error 1: your computer could be experiencing trouble, your settings might require adjusting, or there could be an issue with Java. It’s not easy to identify the main issue.
Based on general troubleshooting, here are the common culprits you can address to fix this error.
-
Outdated or Corrupted Java: Minecraft Java Edition runs on a Java runtime. If this runtime is outdated, corrupted, or conflicts with another Java version on your system, it will crash with Exit Code 1.
-
Incompatible or Faulty Mods: Many players enjoy playing with modifications. However, mods that are built for an older game version or conflict with each other will break the game. Always update mods after a Minecraft update.
-
Incorrect Launcher Settings: The game launcher needs a clear path to the correct version of Java. If this path is wrong or points to a missing file, the launch will fail.
-
Corrupted Game Files: Essential Minecraft files can become corrupted due to incomplete updates, disk errors, or faulty mod installations. This forces the game to close unexpectedly.
-
Outdated GPU Drivers: While less common for this specific error, old graphics drivers can cause instability. Keeping them updated is a good general practice.
What Can I Do to Fix the Issue of Minecraft Code 1 Error?
Let’s begin with two basic solutions:
-
Verify Game Files: Before anything else, use your Minecraft launcher (like the official one or CurseForge) to “Repair” or “Verify” your game installation. This often fixes corrupted files.
-
If you are playing with mods, disable them. Mods, while fun, can be the reason things go wrong. Try launching the game without any mods first.
Additionally, as we often recommend, restarting your computer can sometimes clear up temporary glitches.
As a “Wonder How To” forum member named Pixel_Error once suggested, a method that could solve Minecraft Exit Code 1 for PC gamers involves checking the Java path. We’ll go through an updated version of it below.
Step 1: Launch your Minecraft Launcher (the official one from minecraft.net) and go to ‘Installations’.
Step 2: Find the installation profile you are using (e.g., “latest release”), click the three dots (...) next to it, and select ‘Edit’.
Step 3: On the edit screen, click ‘More Options’. In the “JVM Arguments” box, you will see a line starting with something like -java:"C:\Program Files\Java\....
Step 4: Important: Do not change this unless you know what you’re doing. Instead, for most users in 2026, the better fix is to ensure you are using the bundled Java runtime. In your launcher settings (‘Settings’ -> ‘General’), make sure “Use bundled Java runtime” is enabled (green). This is the safest option.
Step 5: If it didn’t work, you may need to uninstall and reinstall Java and/or Minecraft itself. This is also known as the nuclear approach!
Five Methods to Resolve “Game Ended with Bad State: Exit Code 1”
1. Update or Reinstall Java / Use Bundled Runtime
The most common fix is to ensure Minecraft is using a clean, correct Java version.
-
Best Practice: In your Minecraft Launcher Settings, enable “Use bundled Java runtime.” This lets Minecraft manage its own Java.
-
Manual Fix: If you need a specific version, download the latest Java 17 (as of 2026, this is the standard for new Minecraft versions) from adoptium.net. Then, in your installation’s ‘Edit’ -> ‘More Options’ menu, manually point the “Java executable” path to the new
javaw.exefile (e.g.,C:\Users\[YourName]\\.jdks\temurin-17.0.10\bin\javaw.exe).
2. Change the Java Executable Path in the Launcher
Sometimes the launcher’s path is wrong. To check and change it:
-
In the launcher, go to ‘Installations’ -> Edit your profile -> ‘More Options’.
-
Find the “Java executable” field.
-
Ensure the path is correct and points to a valid
javaw.exefile. Enabling the “bundled runtime” (Method 1) usually makes this step unnecessary.
3. Disable or Update All Mods
Mod incompatibility is a prime suspect.
-
Disable All: Move all mods out of your
%appdata%\.minecraft\modsfolder to a temporary desktop folder. Try launching the game. If it works, a mod is the problem. -
The Binary Search Method: Add back half your mods at a time to identify the conflicting one.
-
Update Mods: Ensure every mod is for the exact version of Minecraft you are running and is compatible with your mod loader (Forge, Fabric, etc.).
4. Fix the Minecraft Installation & Launcher Path
A corrupted installation is a common cause.
-
Fresh Reinstall: Fully delete your
.minecraftfolder (back up worlds and mods first!) and let the launcher download a fresh install. (Navigate to%appdata%in File Explorer, find and rename.minecraftto.minecraft_backup, then relaunch the game). -
Check for Special Characters: If your Windows username has special characters (like
!,&, or non-Latin letters), it can sometimes cause issues. The nuclear fix is to create a new Windows user account with a simple name (e.g., “Gamer”) and install Minecraft there.
5. Update Graphics Card Drivers and Operating System
While not the first culprit, outdated system software can contribute to instability.
-
GPU Drivers: Visit the website of your graphics card manufacturer (NVIDIA or AMD) and download the latest Game Ready or Adrenalin drivers. Use their clean installation option.
-
Windows Updates: Ensure your Windows 10/11 is fully updated through Settings -> Windows Update. Critical system updates can affect game performance.


