
Windows 11 is far ahead in both design and performance over earlier versions of Windows operating systems. But the operating system isn’t ideal and errors appear everywhere.
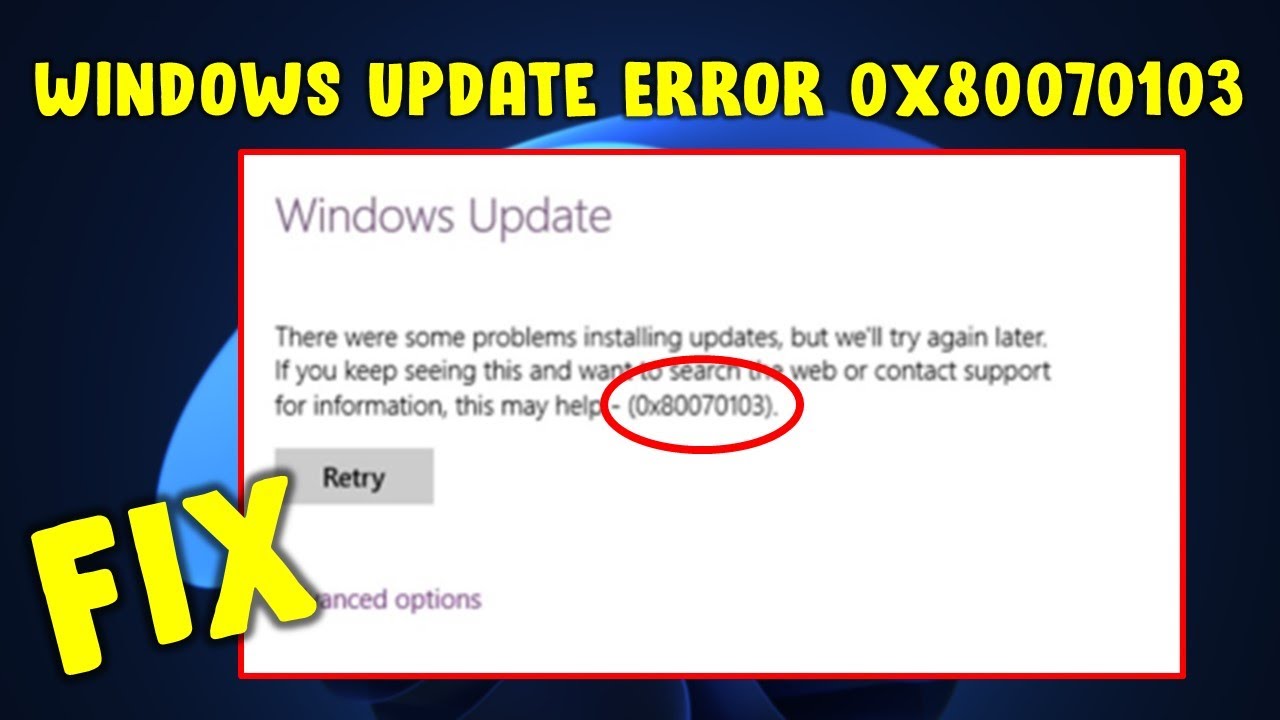
A common issue with this is windows update installation error of the error code of 0x80070103.
This error affects all update options and displays “Install error” message, which provides lacking information on how to fix the issue.
It is good to know that Windows updates have been element of operating systems since quite a while and are documented.
Most of the time, these errors occur by users due to a set of issues which can be quickly resolved with the help offered in this tutorial.
So, taking a closer look at the most common causes that are behind this issue could provide some insight into the issue.
What is the reason for Windows Update Error Code 0x80070103?
If you go to Windows Update’s or Microsoft’s Windows Update Web site or the Microsoft Update Web site to download the most recent update to hardware drivers when you then click to to install the driver update and you receive this error message: the error code is 0x80070103.
This problem can be experienced if you encounter the following situations:
- Windows Update or Microsoft Update attempts to install a driver twice for another piece of similar equipment, such as an adapter for graphics.
- Windows Update or Microsoft Update is a method of updating an running driver to a non-suitable version of the driver.
Here is a Complete List of the Main Factors that Cause the Error Code 0x80070103.
- The error message mentioned above will happen when Windows Update gets confused due to the identical hardware that is available in your system.
- If you’ve installed a driver version that is incompatible and you encounter the error message.
- If the driver that you are trying to update is not in usage by another software, you’ll get an error message.
How do I fix Error Code 80070103
There are a few workarounds and remedies you could apply to resolve the error 80070103 problem.
These solutions work for all versions of Windows. the different version of Windows:
- Windows 7
- Windows 8
- Windows 8.1
- Windows 10
It is important to note that some steps could have different language for different Windows versions. Windows.
Before you attempt one of the methods listed below ensure that is logged into with administrator privileges.
Method 1. Update device drivers Manually
The first thing you need to ensure is that your drivers work and are updated correctly.
Because it is the case that Windows Update error code 80070103 is directly connected to your drivers that are not working, it is necessary to fix this by hand.
The most likely drivers that can cause problems are one of the most likely drivers to cause problems is NVIDIA drivers. This example will show how to update the NVIDIA driver.
It’s possible to apply the identical procedure to any driver you find outdated or not functioning properly on your PC.
- Go to the official website of the manufacturer for the most current drivers. It is possible to conduct an Google search to locate the correct site. Be sure to install the most current, correct version from a reputable source.
- After you have downloaded the driver, use on the Windows + R keys on your keyboard.
- On the Run dialog box, type devmgmt.msc and press the OK button.
- Select the driver you wish to update, and click on it one time. In this case we chose the NVIDIA display adapter driver.
- Right-click on the driver and choose the Update option.
- Select Browse my computer for driver software.
- Find the place the folder where you have saved the driver.
- Follow the steps on the screen to correctly set up the driver.
- Start your computer after the installation process is completed.
Method 2. Refrain From Updating
It is possible to stop Windows from pushing the installation of an present driver upgrade.
It is important to remember that you’ll disable all updates to your driver with this method but not just one.
- Find in the Control Panel on your PC and then launch the application.
- Click on System.
- Then, on the left Click on the link that states Advanced settings for your system.
- Go onto the Hardware tab.
- Click the device installation settings option.
- Choose the no (your device may not function as you expect it to) choice.
- Click to save settings.
- Start your .
What can you do to prevent error code 80070103 from the future
Always keep your PC and device drivers updated in all instances. This can be done by manually installing and downloading the driver or system updates whenever they are released.
Be sure to wait for a while before upgrading, or it is possible that you will end up having old versions that don’t function. Problems with compatibility can consume lots of time while you try to solve them.
The option of letting everything update on autopilot is another option provided you frequently look for updates that fail.
If you’re searching for an IT company that you be confident in for its honesty and honesty in business You should look at SoftwareKeep. We’ll be there for your before, during and even after the sale.